 |
| There it is in all of it's glory! Now I don't have to refill the one pound containers. yayyy! |
Monday, February 13, 2012
The New Propane Hose
Yayyy.. The new propane hose showed up for my Mr. Heater MH18b propane heater!


The Messy Audio Wiring
Here are some pictures of that process.
 |
| The underside wiring was unsightly and hanging on the floor. I wanted to get the bulk of the wiring off the floor and up under the console where it would be more difficult to damage from wear. |
 |
| Look at the mess! I need to get that mess looking clean and neat! |
 | |
|
Wall Mounting the Monitors
When I purchased the new monitor I mentioned that I wanted to mount all of the monitors using wall mount fixtures when I had the money to buy them. I have decided that the time has come to do just that.
I purchased one central wall mount fixture for the 27 inch wide screen monitor and two extended arm style wall mounts for the two 19 inch 4:3 monitors.
There are some pictures of the installation of the monitors to the wall mount fixtures.
I purchased one central wall mount fixture for the 27 inch wide screen monitor and two extended arm style wall mounts for the two 19 inch 4:3 monitors.
There are some pictures of the installation of the monitors to the wall mount fixtures.
 |
| The lower left picture shows the monitors on some makeshift stands that I fabricated quickly to use to determine a good mounting height for the monitors. |
 |
| You can see that I am removing the stand for the 27" monitor to get it out of the way. |
 |
| I have attached the monitor hanging brackets and begun leveling the back plate on the front facing wall. |
 |
| I have now mounted the center monitor. The two side monitors will be fitted to match the top edge of the center monitor. |
 |
| You can see that I have laid out the arm style mount and removed the stand from one of the 19" monitors. |
 |
| Leveling is always important when installing any piece of equipment. |
 |
| I have now mounted the left monitor and have transcribed the measurements to the right monitor to make that installation much easier. |
 |
| I want to keep the monitor cabling looking neat and professional. This is a part of what I used to do for a living as a union sound electrician in the motion picture industry. |
 |
| Here are two shots of the console area with the monitors all wired up and ready for use. |
The New PC
Well the time has come where the laptop that I have been using is not really cutting it regarding the making of electronic dance music and editing high quality videos. I bought the laptop from my friend Jerry for around $200 right after my previous living situation took a turn for the worse. I'm the kind of person that requires Internet access 24/7 and I knew at that time that I could get by with a laptop until my situation changed for the better.
The new computer that I built starts out with a Lianli aluminum PC case and is armed with a hexacore AMD Phenom x6 3.3 GHz processor (6 cores) and 16 Gigs of Corsair DDR3 RAM memory. The power supply is a 550 watt Kingwin Laser Platinum LZP-550. The PC also has an Asus 12x Blu-ray writer which is also a DVD and CD writer / player. I'm using an Asus M4A88TD-EVO USB3 Motherboard and a Scythe SCMG-2100RT aftermarket processor cooler. The internal hard drive is a Hitachi 2 Terabyte 7200 RPM SATA drive divided into two separate 1 gigabyte partitions. It runs Microsoft Windows 7 Professional 64 bit version.
The grand total for the all of the computer parts was $1,155.27 which is phenomenal when compared to the approximate $7200.00 I spent 5 years ago on my last Studio PC. Since I'm currently a full time college student, I used that status to purchase a student discounted version of MS Windows 7 64 bit Upgrade and MS Office Professional for around $150. I added my M-Audio Delta 1010LT sound card from my prior Studio PC to create one extremely amazing A/V Workstation.
Here are some pictures of the new computer and the area that I created to securely mount and wire my new Studio Work Station PC.
The new computer that I built starts out with a Lianli aluminum PC case and is armed with a hexacore AMD Phenom x6 3.3 GHz processor (6 cores) and 16 Gigs of Corsair DDR3 RAM memory. The power supply is a 550 watt Kingwin Laser Platinum LZP-550. The PC also has an Asus 12x Blu-ray writer which is also a DVD and CD writer / player. I'm using an Asus M4A88TD-EVO USB3 Motherboard and a Scythe SCMG-2100RT aftermarket processor cooler. The internal hard drive is a Hitachi 2 Terabyte 7200 RPM SATA drive divided into two separate 1 gigabyte partitions. It runs Microsoft Windows 7 Professional 64 bit version.
The grand total for the all of the computer parts was $1,155.27 which is phenomenal when compared to the approximate $7200.00 I spent 5 years ago on my last Studio PC. Since I'm currently a full time college student, I used that status to purchase a student discounted version of MS Windows 7 64 bit Upgrade and MS Office Professional for around $150. I added my M-Audio Delta 1010LT sound card from my prior Studio PC to create one extremely amazing A/V Workstation.
Here are some pictures of the new computer and the area that I created to securely mount and wire my new Studio Work Station PC.
 |
| You can see the stack of new parts in the left picture and the new case in the right picture. |
 |
| I tried to lay out the parts so that you can see them all clearly. |
 |
| Inside the syringe is thermal paste for connecting the processor to the fan assembly. |
 |
| Here is the area under the console where I am installing the PC shelf. |

 |
| I secured the metal shelf brackets to the wood with additional zip ties for added stability. |
 |
| You can see the new computer under the console on the shelf. |
 |
| Here are a few pictures of the inside and back panel of the New PC. |
 |
| The top picture shows the added M-Audio Delta 1010LT sound card and the bottom picture shows a closer look at some of the connectors on the back of the computer. |
Sunday, February 12, 2012
Console Shelving
The console area is very spacious but is lacking places to put additional pieces of equipment. I decided I would fix that problem by installing some shelving above the monitors and to my immediate left and right.
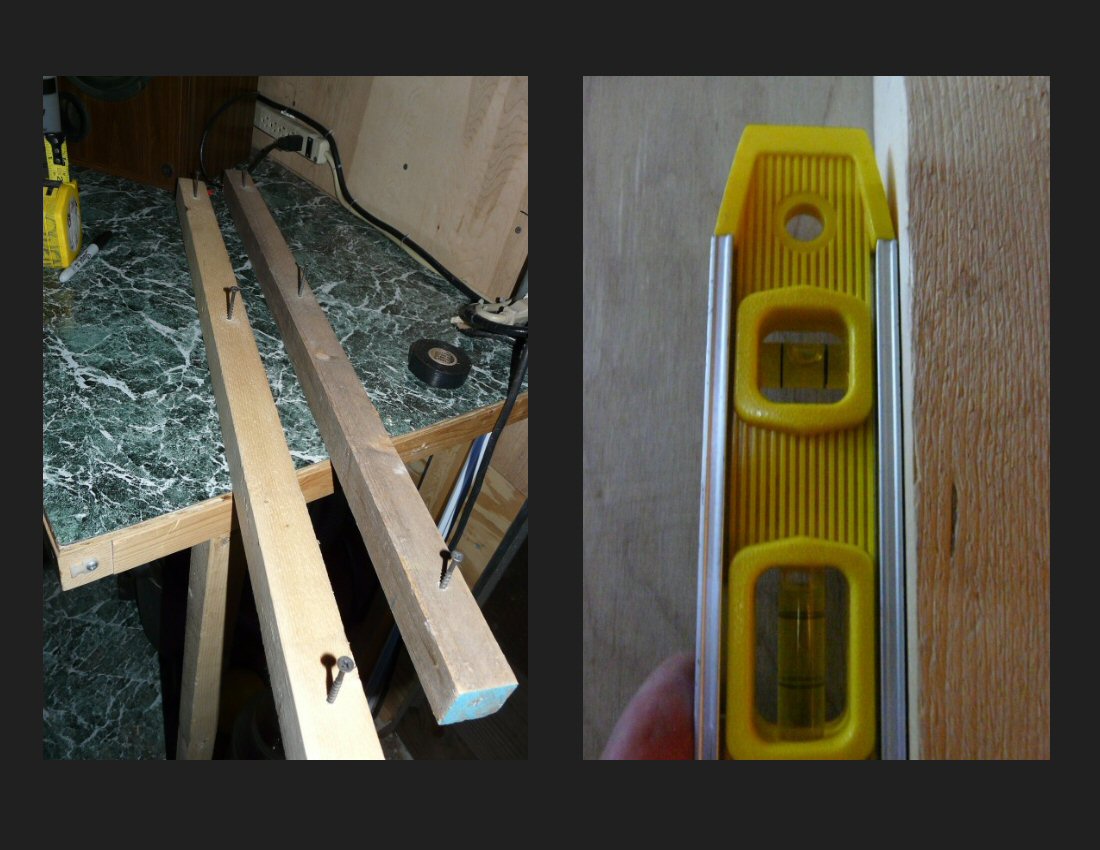
I purchased some adjustable shelf rails and additional hardware from the local home improvement store. It is important that the shelving rail be level and secure. I intend to mount the front right and left monitor speakers on the top right and left shelves. I want the shelves to be adjustable so that in the future if the equipment I own changes I won't have to redo the shelving situation.
Here are some pictures of the installation of my new shelves.


I purchased some adjustable shelf rails and additional hardware from the local home improvement store. It is important that the shelving rail be level and secure. I intend to mount the front right and left monitor speakers on the top right and left shelves. I want the shelves to be adjustable so that in the future if the equipment I own changes I won't have to redo the shelving situation.
Here are some pictures of the installation of my new shelves.




Subscribe to:
Posts (Atom)